Trailer Trash Balderdash

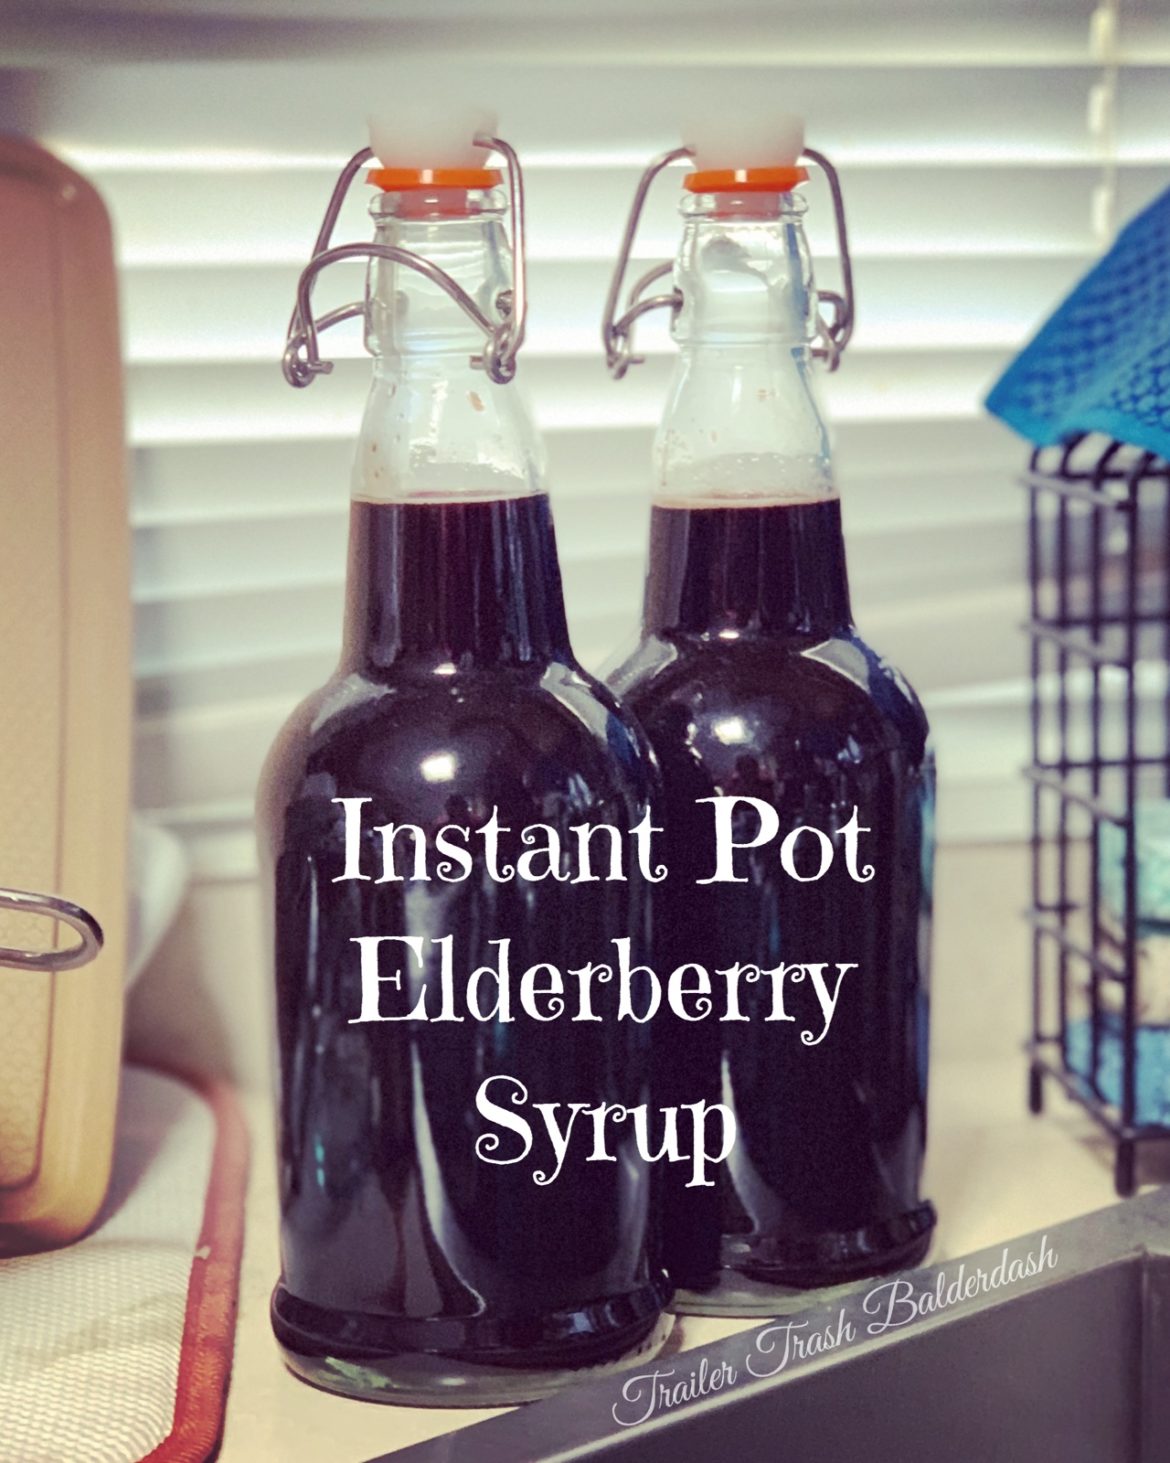
Instant Pot Elderberry Syrup

Ok guys, this stuff is magic! I know that some people think it’s hippie-dippy, but I made my first batch when I was 34 weeks pregnant and my husband got really sick with Pneumonia. I didn’t want to get it (obviously), and I had already had some pre-term labor scares, so I was desperate.
I made my first batch, it was amazing, and I took my daily ration faithfully and didn’t catch a thing! Plus, my hubby took it and I swear it’s the only reason he recovered from his severe case of pneumonia so quickly! (As a nurse, I’ve never seen that happen-it always lasts awhile, even in healthy people!) He took his dosage frequently until he was better. More on that later.

Ok here is my personally tweaked recipe:

Ingredients:

3 cups Elderberries

6 cups water

6 cinnamon sticks

2 Tbsp whole cloves

Several pieces of fresh ginger root (less if you don’t like strong ginger flavor. Can sub minced ginger, ginger paste, or powder if necessary, but it’s not as good 😆)

1/4 cup Manuka honey (this is purely for the immune benefits. Regular honey can be used if you don’t want the Manuka)

Extra honey for taste

Directions:

1. Add all ingredients except honey to Instant Pot and stir.

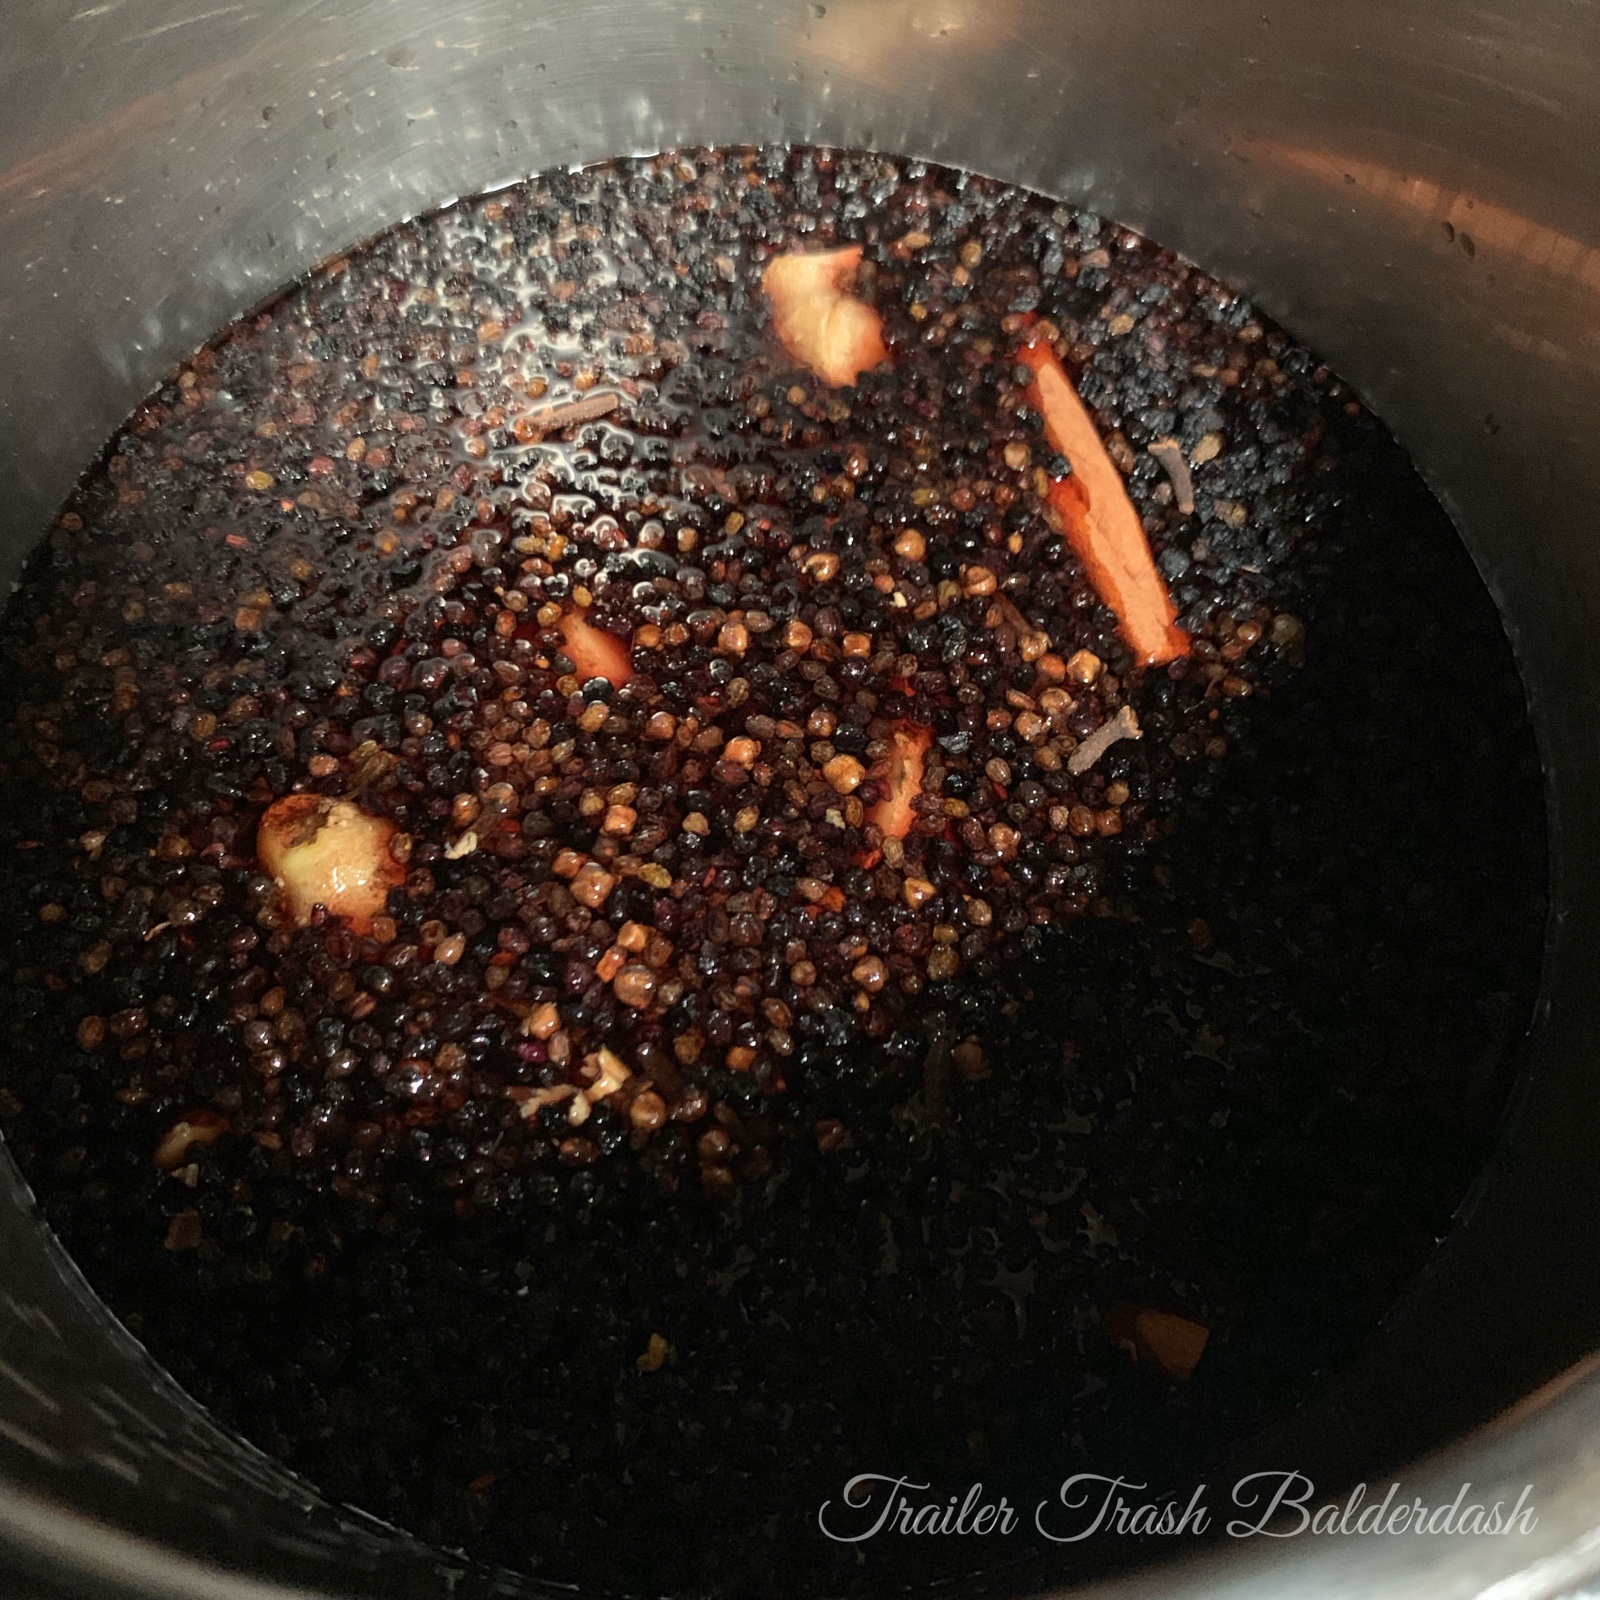
2. Add lid and make sure everything is sealed and locked.

3. Cook on manual setting for 30 minutes, then let steam naturally release (this means don’t flip the valve open when it’s done, just let the pressure come down).

4. Ensure all steam is released by flipping the valve and then open the lid. Strain contents into heat-safe bowl or jar.

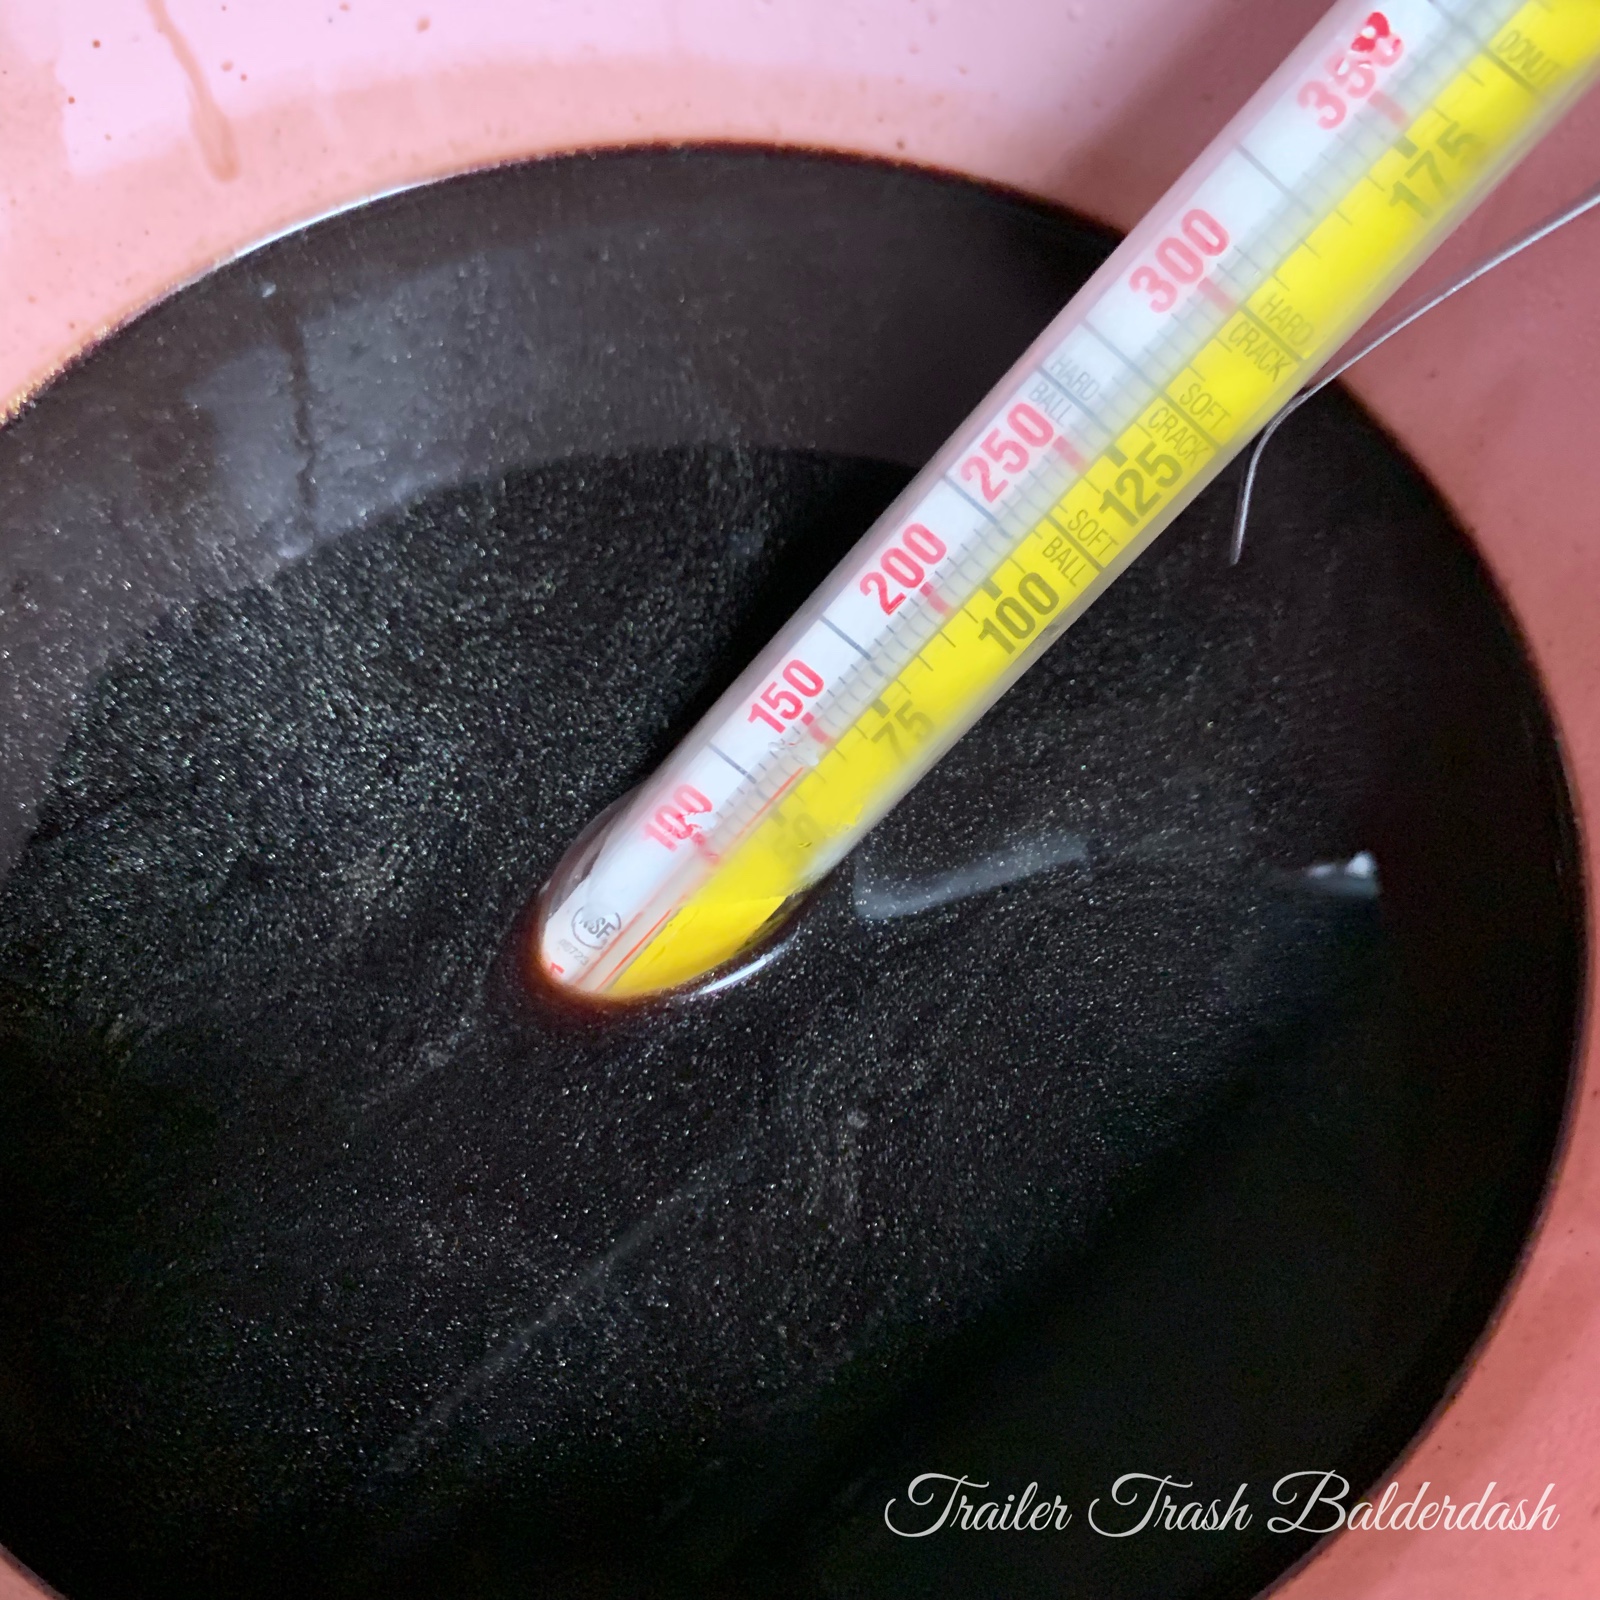
5. Check temperature and make sure it is below 140 degrees at least before adding honey. I like the manuka for its health benefits, but I add extra honey for taste, since the manuka is expensive.

6. Mix well, and pour into your container of choice.

*Keep refrigerated. We’ve had ours at least 2-3 months keep fine, but I believe it will keep for approximately 6 months in the fridge.

*We take 1 Tbsp daily to help prevent sickness. If we get sick or feel like we’re coming down with something, we take 1 tsp every 1-3 hours until we’re recovered.

*I am not a doctor, nor is this medical advice. I am simply sharing what we have used with success.

*Be aware that consuming excessive amounts may have a laxative effect. 😬
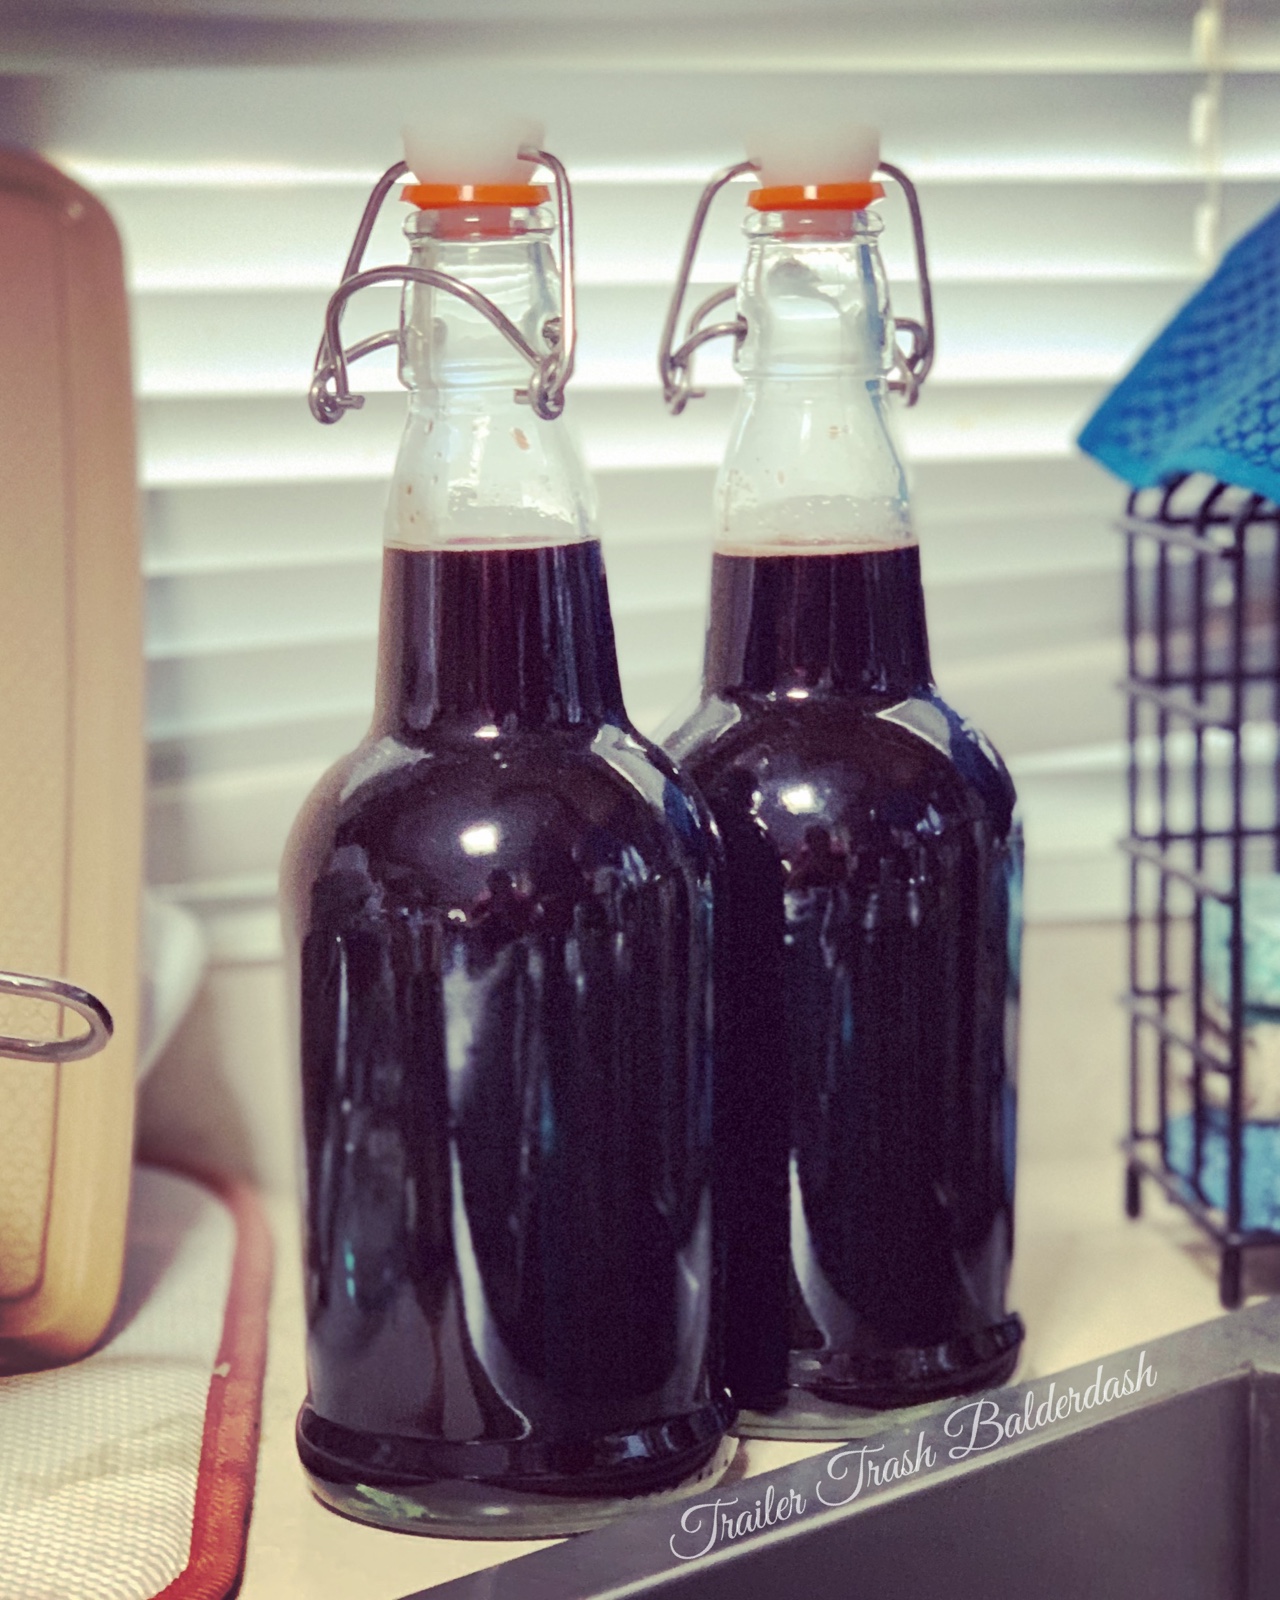
The bottles I use:

The Instant Pot I currently use:

*This post contains affiliate links, which do not affect the price you pay, but sends me a tiny portion if you make a purchase.

Instant Pot Banana Bread

Living in an RV has its obstacles…like when you want to make some sort of bread.

Even if we had an oven in ours, we sure couldn’t use it in the AZ summer heat, because our (one) AC has to run almost non-stop just to keep it a livable temp inside, much less adding oven warmth to it.

So, what’s a girl to do when she has some old bananas and gluten-free flour to use up???

HELLO, INSTANT POT, you beautiful thing, you!

Yep, that’s right! You can make banana bread, even this gluten-free, refined sugar-free version I made, in your beloved IP. All you need is a springform pan that fits inside whatever size IP you have, a stand or hand mixer, some bananas that you just can’t bear to throw out even though it won’t set you back more than a few cents (lol for real, though), and a few other ingredients! =D

Ok, let’s get started! Here are all the ingredients you will need:

3 very ripe bananas that you can’t bear to toss

1/2 cup butter (I haven’t tried a dairy-free version of this yet, but hope to eventually)

2 room temperature eggs

3/4 cup coconut sugar (We don’t like ours very sweet, so this is less than the full cup of cane sugar that most recipes seem to call for)

2 cups flour (I used gluten free)

1.5 tsp baking soda

1/2 tsp salt

1 Tbsp vanilla extract

Optional: nuts/chocolate chips

Directions:

1. Beat butter, eggs, and coconut sugar until fluffy (it won’t get as fluffy with the coconut sugar, so you can use regular sugar, or a mix if you prefer).

2. Mash the bananas.

3. Add banana, vanilla, and dry ingredients, and mix well without over-beating. 

4. If adding in chocolate chips or nuts, hand mix them in (I FORGOT lol, naturally, on the batch I was photographing).

5. Pour into springform pan and smooth top.

6. When you realize you forgot to add the chocolate chips, but are in a hurry, add them to the top… (for truly refined sugar free version, eliminate chocolate chips, or use chips sweetened with alternative, like stevia)

7. Cover with foil to prevent water dripping during cooking, and place on trivet in IP with 1 cup of water on the bottom. 

8. Cook on manual for 60 minutes, then allow pressure to naturally release for about 10 minutes before opening the valve to let the rest escape. 

Um…YUM!!!!

This bread is absolutely delish, but of course, as with anything made from scratch, it doesn’t stay fresh for very long, so eat up within 2-3 days!

Enjoy!

*Products used in this post that you can get on Amazon (I am an Amazon affiliate, and this means I may make a small percentage if you shop with these links, at no extra cost to you)