
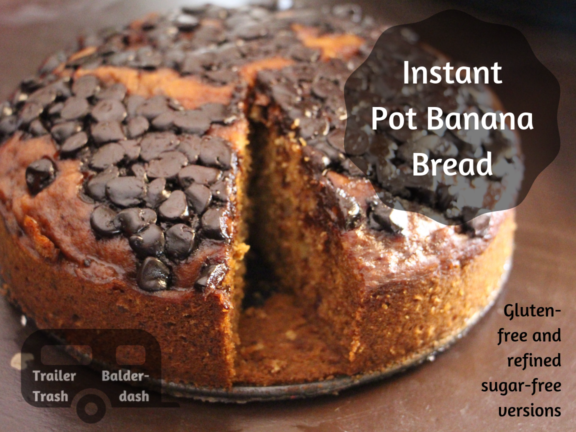
Instant Pot Banana Bread
Living in an RV has its obstacles…like when you want to make some sort of bread.
Even if we had an oven in ours, we sure couldn’t use it in the AZ summer heat, because our (one) AC has to run almost non-stop just to keep it a livable temp inside, much less adding oven warmth to it.
So, what’s a girl to do when she has some old bananas and gluten-free flour to use up???
HELLO, INSTANT POT, you beautiful thing, you!
Yep, that’s right! You can make banana bread, even this gluten-free, refined sugar-free version I made, in your beloved IP. All you need is a springform pan that fits inside whatever size IP you have, a stand or hand mixer, some bananas that you just can’t bear to throw out even though it won’t set you back more than a few cents (lol for real, though), and a few other ingredients! =D
Ok, let’s get started! Here are all the ingredients you will need:
3 very ripe bananas that you can’t bear to toss
1/2 cup butter (I haven’t tried a dairy-free version of this yet, but hope to eventually)
2 room temperature eggs
3/4 cup coconut sugar (We don’t like ours very sweet, so this is less than the full cup of cane sugar that most recipes seem to call for)
2 cups flour (I used gluten free)
1.5 tsp baking soda
1/2 tsp salt
1 Tbsp vanilla extract
Optional: nuts/chocolate chips
Directions:
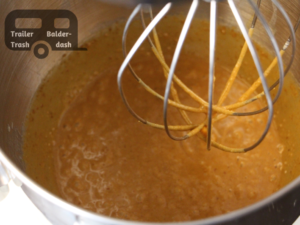
1. Beat butter, eggs, and coconut sugar until fluffy (it won’t get as fluffy with the coconut sugar, so you can use regular sugar, or a mix if you prefer).
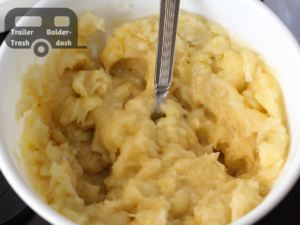
2. Mash the bananas.
3. Add banana, vanilla, and dry ingredients, and mix well without over-beating.

4. If adding in chocolate chips or nuts, hand mix them in (I FORGOT lol, naturally, on the batch I was photographing).

5. Pour into springform pan and smooth top.
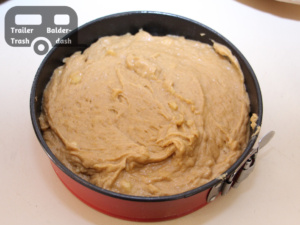
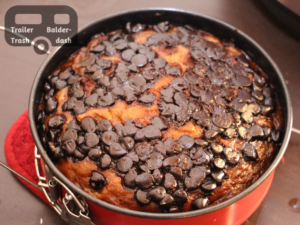
6. When you realize you forgot to add the chocolate chips, but are in a hurry, add them to the top… (for truly refined sugar free version, eliminate chocolate chips, or use chips sweetened with alternative, like stevia)

7. Cover with foil to prevent water dripping during cooking, and place on trivet in IP with 1 cup of water on the bottom.

8. Cook on manual for 60 minutes, then allow pressure to naturally release for about 10 minutes before opening the valve to let the rest escape.
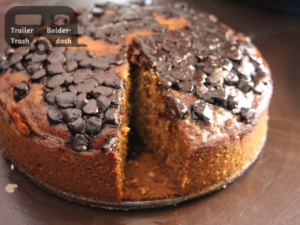
Um…YUM!!!!

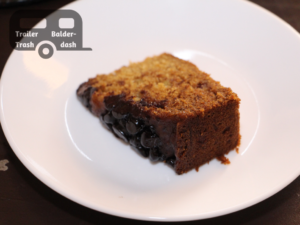
This bread is absolutely delish, but of course, as with anything made from scratch, it doesn’t stay fresh for very long, so eat up within 2-3 days!
Enjoy!
*Products used in this post that you can get on Amazon (I am an Amazon affiliate, and this means I may make a small percentage if you shop with these links, at no extra cost to you)